
Here is my next tutorial for new JAVA developers, I would like to introduce to you JAVA swing applications. JAVA swing is a GUI(Graphical User Interfame) framework for JAVA and it is included in the JDK(JAVA Development Kit). If you really want to make complex user interface using JAVA Swing , Netbeans IDE has a very good Interface Designer, but i wont be using Netbeans for my tutorial because the purpose of this tutorial is just to introduce you to Swing development. Instead we will be using my favorite IDE which is Eclipse like my past JAVA tutorials.
To start with our tutorial we will need to create a new JAVA Project in Eclipse. If you still do not know to do this you better start here..
We will now create our new Java Swing Class
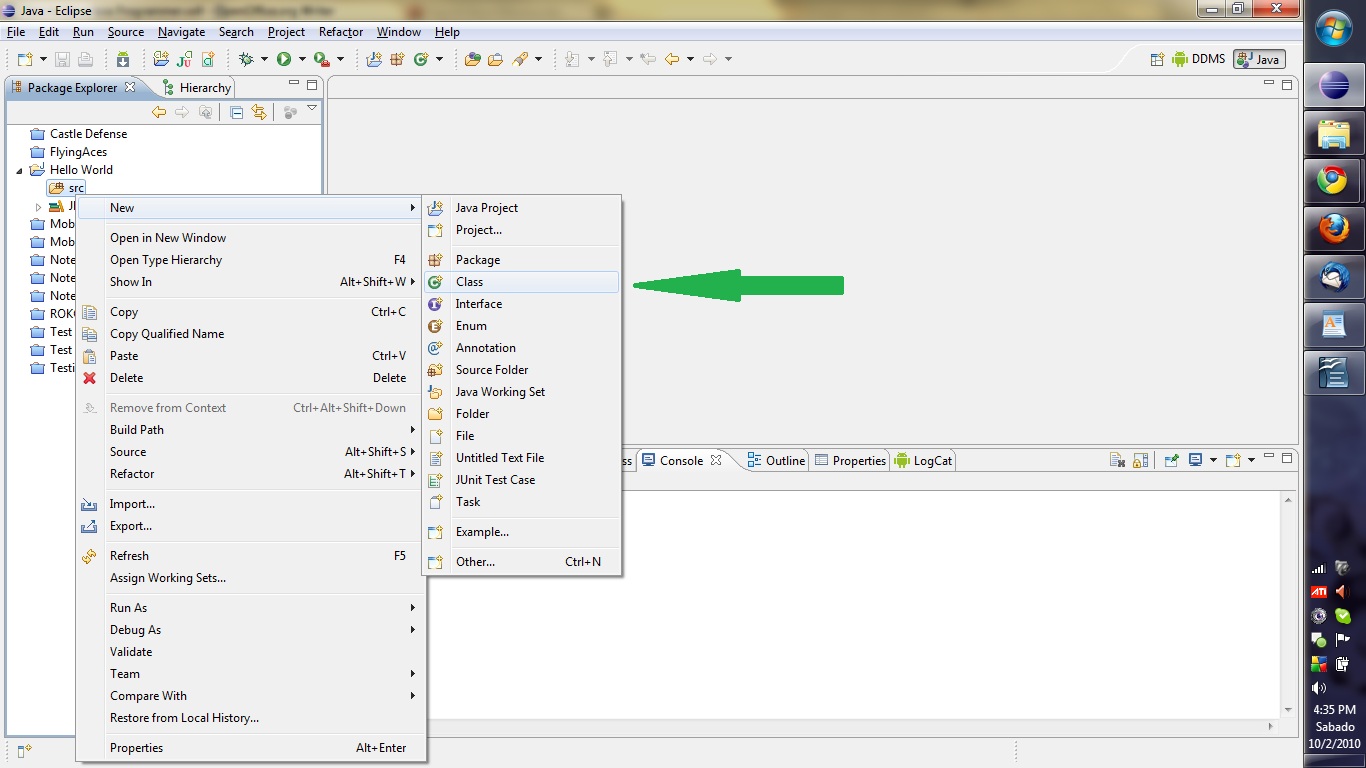
Right click on your src folder and choose New… then choose Class

then choose your Class Name and Package name. In our case use
Package -> com.wfdb
Class Name -> HelloSwing
then click on Finish…
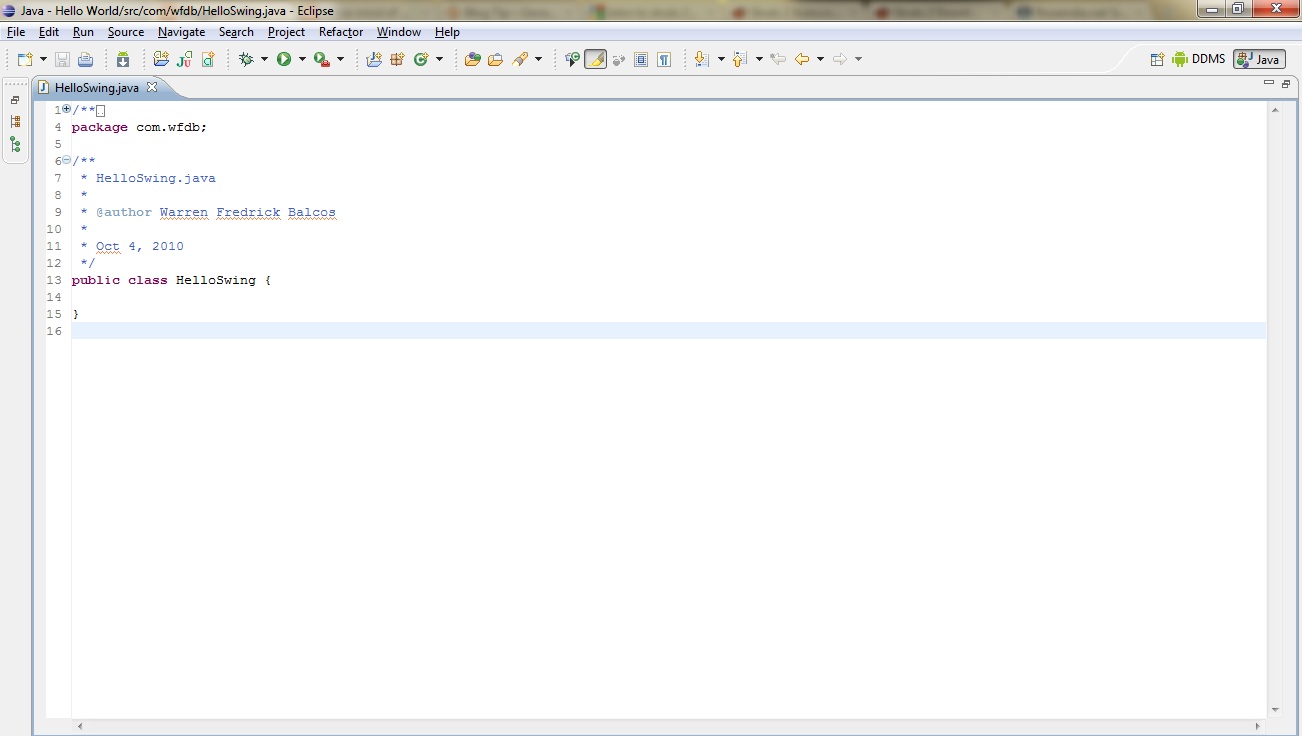
Our new class should look something like this…
Now we add some code…
First we extend our HelloSwing Class to Jframe Class
public class HelloSwing extends JFrame {
Then we add a constructor for our HelloSwing Class
public HelloSwing() {
}
The constructor of a class is called when we make an instance of that class executing the code inside it
Now we add code inside our constructor
public HelloSwing() {
JLabel hello = new JLabel(“Hello World”);
add(hello);
setSize(100, 100);
setVisible(true);
}
Lets discuss what each line of code does…
1.) JLabel hello = new JLabel(“Hello World”); – this piece of code means that we create a new Instance of a JLabel Class set its value to “Hello World” and store it in our hello object.
JLabel is a class in the swing framework just like JFrame. There are other classes we can use like JTextField, JButton, etc. that we can use for our JAVA application.
2.) add(hello); – this piece of code adds our hello object to our HelloSwing Class. the method add(); is a method from the JFrame class, because we extended our HelloSwing Class to JFrame we are able to use its public methods.
3.) setSize(100, 100); – this piece of code sets the size of our Frame to 100 width and 100 height. It is also a method of the JFrame Class which we have extended for our HelloSwing Class.
4.) setVisible(true); – this is also a method of the JFrame Class and it sets our Frame visible.
Next is we add the entry point of our JAVA application…
public static void main(String[] args) {
new HelloSwing();
}
1.) public static void main(String[] args) { } – This is the entry point of a JAVA application it is the first method that will be executed
2.) new HelloSwing(); – Inside our main method we create an instance of our HelloSwing Class. using the new keyword we create an instance of a Class.
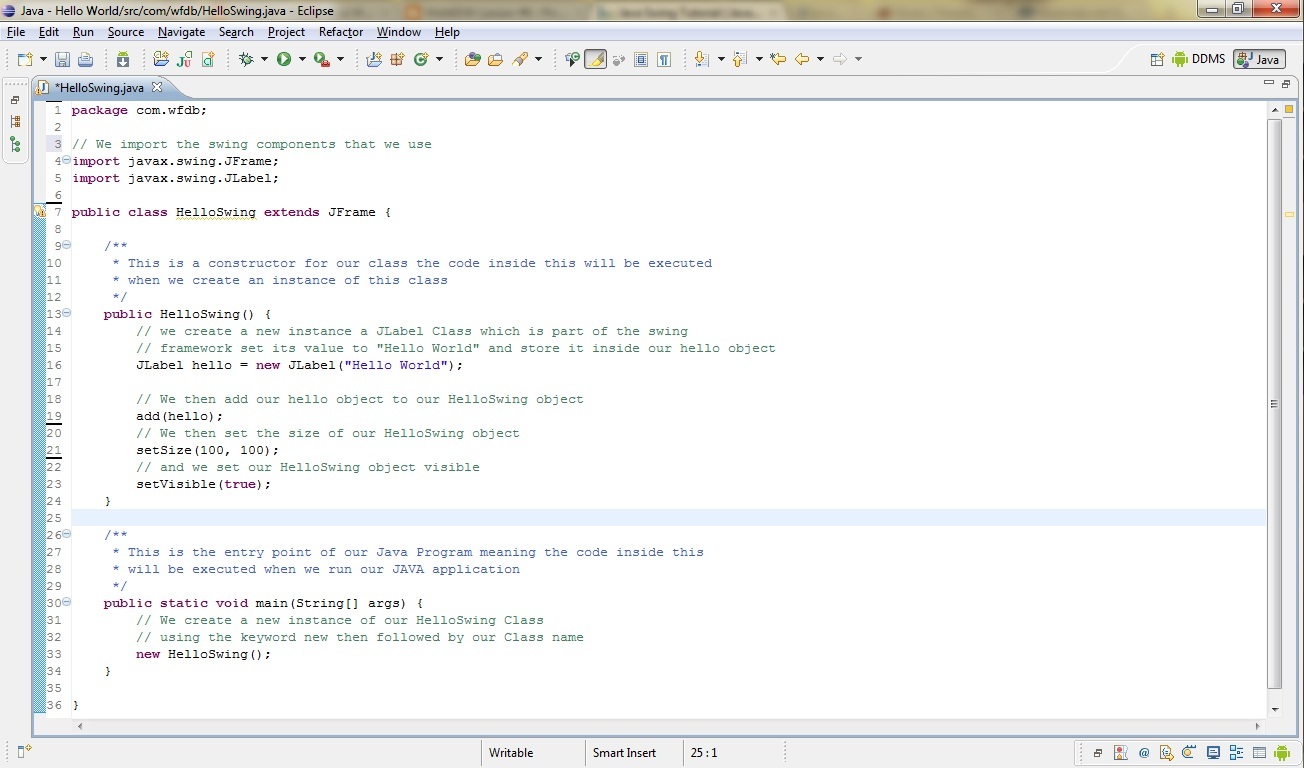
Our code should look something like this…
Now to run our code…

We right click on our Class… then choose Run As… and choose Java Application

Our result should look something like this…
There you have it… your first JAVA swing application….. Hope you enjoy another one of my tutorials…
if you have any questions or suggestions don’t be shy to comment or email me…. 😀
